8 iPhone Security Settings To Make Your Phone A Fortress
8 iPhone Security Settings And Features You Should Enable Or Change Right Now
Your iPhone is a treasure trove of personal data, from your contacts and photos to your financial information. It’s essential to safeguard this information from potential hackers and snoops. While Apple has implemented robust security features in its iOS, there are additional settings you can tweak to create a fortress around your iPhone data.
Don’t Be a Sitting Duck: Turning On Automatic Updates
The most basic, yet crucial step in iPhone security is turning on automatic updates. Apple regularly releases iOS updates with vital security patches that fix vulnerabilities hackers could exploit. Ignoring these updates is like leaving your door wide open for thieves. Think of it as a crucial layer of defense in your iPhone’s security system.
Beyond security, updates bring performance enhancements, making your iPhone faster and more responsive. Say goodbye to annoying lag when scrolling through Instagram or playing your favorite games. Updates also often introduce cool new tools and features that can make your iPhone even more useful. It’s a win-win situation.
To enable automatic updates, navigate to Settings > General > Software Update. From there, you’ll find the option for automatic updates. Simply toggle it on. You can customize your settings to automatically install updates overnight, ensuring the latest security without disrupting your day.
By turning on automatic updates, you’re not only protecting yourself from potential security threats but also maximizing your iPhone’s performance and functionality. It’s a simple yet powerful way to keep your data secure and enjoy a smoother, more enjoyable iPhone experience.
Beyond a Passcode: Strengthening Your Security with Biometrics
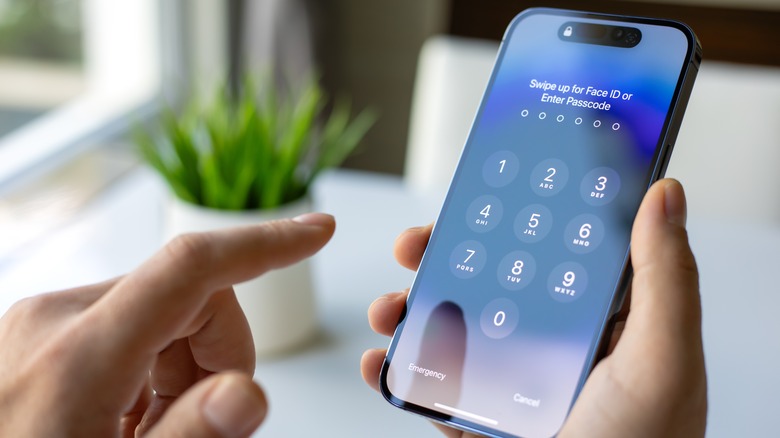
While setting a passcode is essential, it shouldn’t be your only line of defense. A simple passcode, such as 1234 or 0000, or even a common name, is a security risk waiting to happen. A strong passcode, like a complex password, is a mixture of letters, numbers, and symbols, making it difficult for others to guess. And don’t fret about typing it in every time you unlock your phone; that’s where biometrics come in.
Face ID and Touch ID, the VIPs of the security world, use unique physical traits like your face or fingerprint to unlock your iPhone. They’re incredibly convenient and add an extra layer of protection. Now, even if someone gets your passcode, they won’t be able to unlock your phone without your face or fingerprint. It’s like having your personal bodyguard on your phone.
To set a strong passcode, go to Settings and scroll down to Face ID & Passcode (or Touch ID & Passcode), then tap “Change Passcode”. Here, you can select “Passcode Options” to choose a custom alphanumeric code. For biometrics, the setup process is simple. Follow the on-screen instructions in the Face ID or Touch ID section of your settings. Make sure to scan your face or fingerprint from different angles for accurate recognition.
Remember, a strong passcode and biometrics work in tandem to create a robust security system. They are your first line of defense against unauthorized access to your iPhone, keeping your personal data safe and secure.
Two-Factor Authentication: Doubling Down on Security
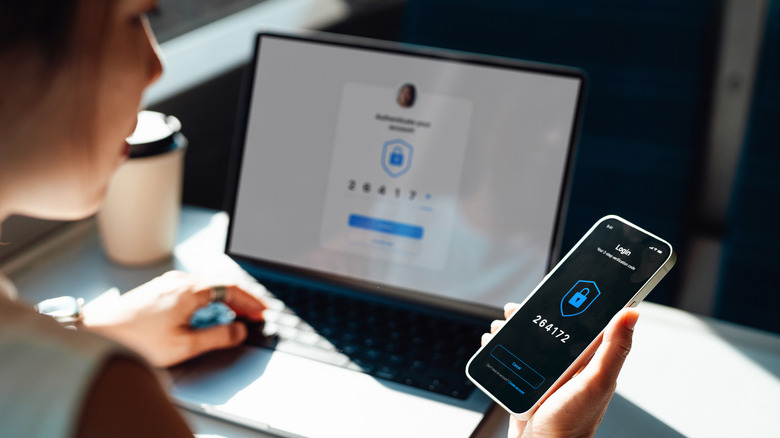
The next level of security is two-factor authentication (2FA), a critical setting for protecting your Apple ID and other online accounts. It acts as a security guard, demanding a second form of verification in addition to your password. This extra layer of protection significantly reduces the chances of unauthorized access to your accounts, even if someone manages to steal your password.
Imagine it like this: Even if a thief breaks into your house, they’ll still need the key to open the safe. 2FA is your safe’s key, making your data even more secure. 2FA can be implemented in different ways. You might receive a code sent to a trusted device or your phone number, or you may need to approve the login request from a trusted device.
To enable 2FA on your iPhone, head to Settings > Your Name > Sign-In & Security > Two-Factor Authentication. Follow the prompts to set it up, and make sure you have a trusted phone number where you can receive verification codes. It’s also wise to add an extra trusted number, like a family member’s, in case you lose access to your phone. This backup number ensures that even if you misplace your phone, you won’t be locked out of your account.
By implementing 2FA, you’re adding a significant layer of protection to your Apple ID and online accounts, making it much harder for unauthorized individuals to gain access to your personal data.
Find My iPhone: A GPS Tracking System for Your Phone
Imagine your iPhone goes missing. Panic sets in, but fear not, Find My iPhone is here to the rescue. This powerful feature acts as a GPS tracking system, allowing you to locate your device using another Apple device or iCloud.com. It’s like having a detective on your team, helping you recover your lost phone.
Find My iPhone isn’t just about tracking your device; it also offers additional security measures. You can remotely play a sound (even if your phone is on silent), lock your device, and even erase all your data to safeguard your privacy. It’s like having a remote control for your iPhone, giving you peace of mind even in the worst-case scenario.
To enable Find My iPhone, go to Settings > Your Name > Find My > Find My iPhone. Turn on “Find My iPhone” and “Find My network.” Make sure “Send Last Location” is also enabled. This sends your iPhone’s last known location to Apple when the battery is critically low, making it easier to locate.
Find My iPhone is a vital tool for safeguarding your iPhone and protecting your data. It empowers you to locate, lock, or even erase your lost device, minimizing the risk of unauthorized access to your personal information.
App Permissions: Controlling Access to Your Data
While apps bring convenience and entertainment to your iPhone, they also have access to your phone’s features and data. Apps often ask for permissions to access your camera, microphone, contacts, or location. While some permissions are necessary for the app to function properly, others might be unnecessary and potentially risky.
Imagine a weather app asking for access to your contacts or a photo editing app tracking your location. These are clear examples of unnecessary permissions that can compromise your privacy. It’s crucial to regularly review and manage app permissions to safeguard your privacy.
To review app permissions, go to Settings > Privacy & Security. Here, you’ll see a list of different categories, such as Location Services, Contacts, Photos, Camera, and Microphone. Tap on each category to see which apps have access and adjust as needed. For example, you might find a simple note-taking app has access to your location, which it likely doesn’t need.
By managing app permissions, you’re taking control of your privacy. It’s like setting up a security fence around your iPhone, preventing apps from accessing data they don’t require. This step ensures that your data stays secure and your privacy remains intact.
Lock Screen Features: A Balance of Convenience and Security
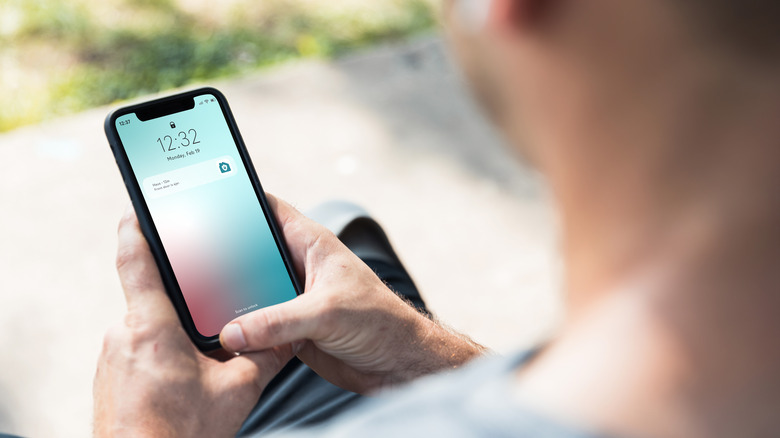
Your lock screen, while convenient for accessing notifications, Control Center, and your wallet, can also pose a security risk. If someone gets their hands on your phone, they might be able to see sensitive information or access certain features without even unlocking the device.
For example, notifications for messages or emails could reveal snippets of your conversations, and Control Center access could allow someone to disable Wi-Fi or even mess with your Bluetooth settings. This is where carefully managing your lock screen features comes in.
To customize your lock screen features, go to Settings > Face ID & Passcode (or Touch ID & Passcode). Under “Allow Access When Locked”, you can toggle on or off various features, including Notification Center, Control Center, Return Missed Calls, Wallet, and more. While it might feel less convenient, the added security is well worth it.
By disabling unnecessary lock screen features, you’re creating an extra layer of protection, ensuring that only you can access your sensitive information and control your phone’s settings.
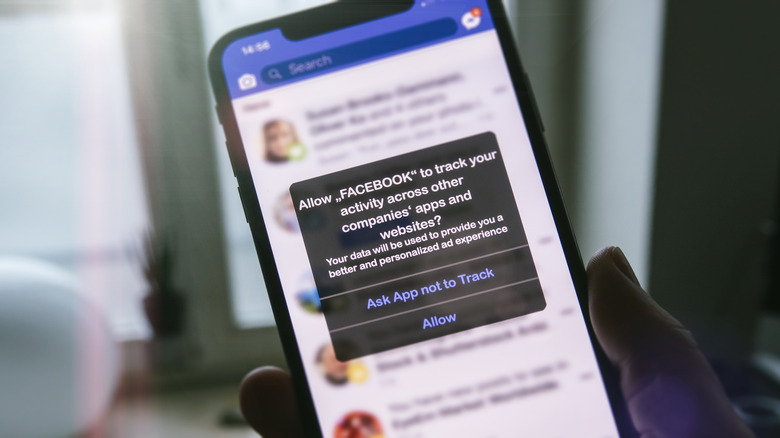
Location Tracking in Ads: Reclaiming Your Privacy
![]()
Ever felt like ads were following you around online? That’s because they probably are. Many apps and websites track your location to show you personalized ads. While this may seem harmless, it can be a major invasion of your privacy.
Apple provides a way to limit ad tracking and prevent apps from using your location to target you with ads. It’s a simple setting adjustment that can significantly protect your privacy, ensuring that your movements aren’t tracked for advertising purposes.
To reclaim your privacy, head to Settings > Privacy & Security > Location Services. Scroll down and tap on “System Services.” From there, toggle off “Location-Based Apple Ads.” While you’re there, you might also want to check the “Significant Locations” setting. This feature keeps track of places you visit often, supposedly to enhance Maps and other services. However, if you are uncomfortable with your iPhone monitoring your whereabouts, you can disable it as well.
By disabling location tracking in ads, you’re taking control of your data and preventing apps from using your location to target you with advertisements. This step ensures that your online experience is less intrusive and more respectful of your privacy.
Stolen Device Protection: Locking Down Your Device
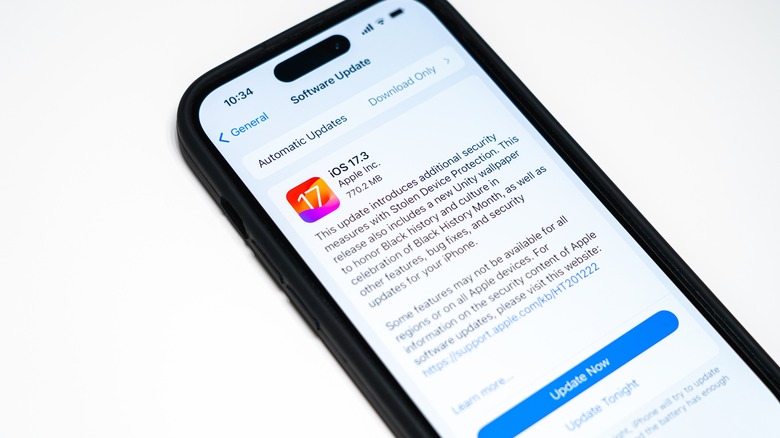
Stolen Device Protection, a new feature introduced with iOS 17.4, is a powerful tool that adds an extra layer of security even if someone manages to bypass your passcode and biometrics. This feature makes it incredibly difficult for a thief to disable Find My iPhone, erase your data, or even activate your device with a new SIM card. It essentially makes your iPhone less appealing to a thief, making it a much less valuable target.
Even if a thief successfully gains access to your phone, Stolen Device Protection makes it harder to exploit your device, adding an extra layer of protection in the unfortunate event that your iPhone gets stolen. It’s like installing a security system that makes your phone essentially unusable to anyone other than you.
Here’s the good news: Stolen Device Protection is automatically enabled if you meet a few requirements, including having a passcode, Face ID or Touch ID enabled, two-factor authentication turned on for your Apple ID, and Find My iPhone activated. You likely have these features already enabled if you’ve been following this guide.
However, it’s always best to double-check. Go to Settings > Face ID & Passcode (or Touch ID & Passcode) and scroll down to Stolen Device Protection. If it isn’t already enabled, simply tap on it to turn it on.
Stolen Device Protection, combined with the other security measures you’ve implemented, makes your iPhone an almost impenetrable fortress. It’s a final line of defense, safeguarding your personal data and making your iPhone much less valuable to potential thieves.
By taking the time to implement these eight security settings, you are transforming your iPhone from a vulnerable device to a secure fortress. Your personal data, your privacy, and your peace of mind are now protected by a multi-layered security system, effectively thwarting potential threats and ensuring that your iPhone remains a reliable and secure companion.


